A bathroom can be freshly wiped down and still look tired because of dark, stained grout lines. Soap residue, hard-water marks and trapped moisture all settle into this porous material, especially around showers and baths. Knowing how to clean bathroom grout properly makes a visible difference without risking scratched tiles, harsh fumes or damaged sealant.
The right approach depends on what is causing the discolouration. A pale, chalky film needs a different treatment from black mould spots, while old orange or brown staining may be limescale mixed with body oils and product build-up. Start gently, work methodically, and only move on to stronger products if the first method does not shift the dirt.
Why bathroom grout gets dirty so quickly
Grout is usually cement-based and more absorbent than the tiles around it. It holds on to moisture and tiny particles of soap, shampoo, skin oils and dust. In a busy household, shower grout can become discoloured surprisingly fast, particularly where ventilation is poor.
London homes often have hard water too. As water dries, it can leave minerals behind on tiles and grout. Over time, that residue gives white grout a dull grey, yellow or brown appearance. Mould is a separate issue: it tends to show as dark specks or patches in corners, along sealant and in areas that stay damp after use.
The goal is not to scour grout aggressively until it looks new for one day. It is to lift the build-up while protecting the grout, tiles and surrounding silicone so the bathroom stays easier to maintain.
What to gather before you start
You do not need a cupboard full of specialist products. For most routine cleaning, use warm water, a pH-neutral bathroom cleaner or washing-up liquid, bicarbonate of soda, white vinegar for suitable surfaces, and an old toothbrush or small grout brush. A microfibre cloth and a dry towel are useful for rinsing and drying the area afterwards.
Wear gloves, particularly if you are using a mould remover or any stronger cleaner. Open the window and switch on the extractor fan where possible. Good ventilation matters for your comfort, but it also helps the bathroom dry faster once the job is done.
Avoid metal scourers, hard wire brushes and abrasive powders. They can scratch glazed tile finishes and wear away at the grout surface. A damaged grout line becomes more porous, which means it will trap dirt even more readily next time.
How to clean bathroom grout with bicarbonate of soda
For general grime and light staining, bicarbonate of soda is a practical first choice. Make a thick paste with bicarbonate of soda and a small amount of water. It should hold on the brush rather than run down the wall.
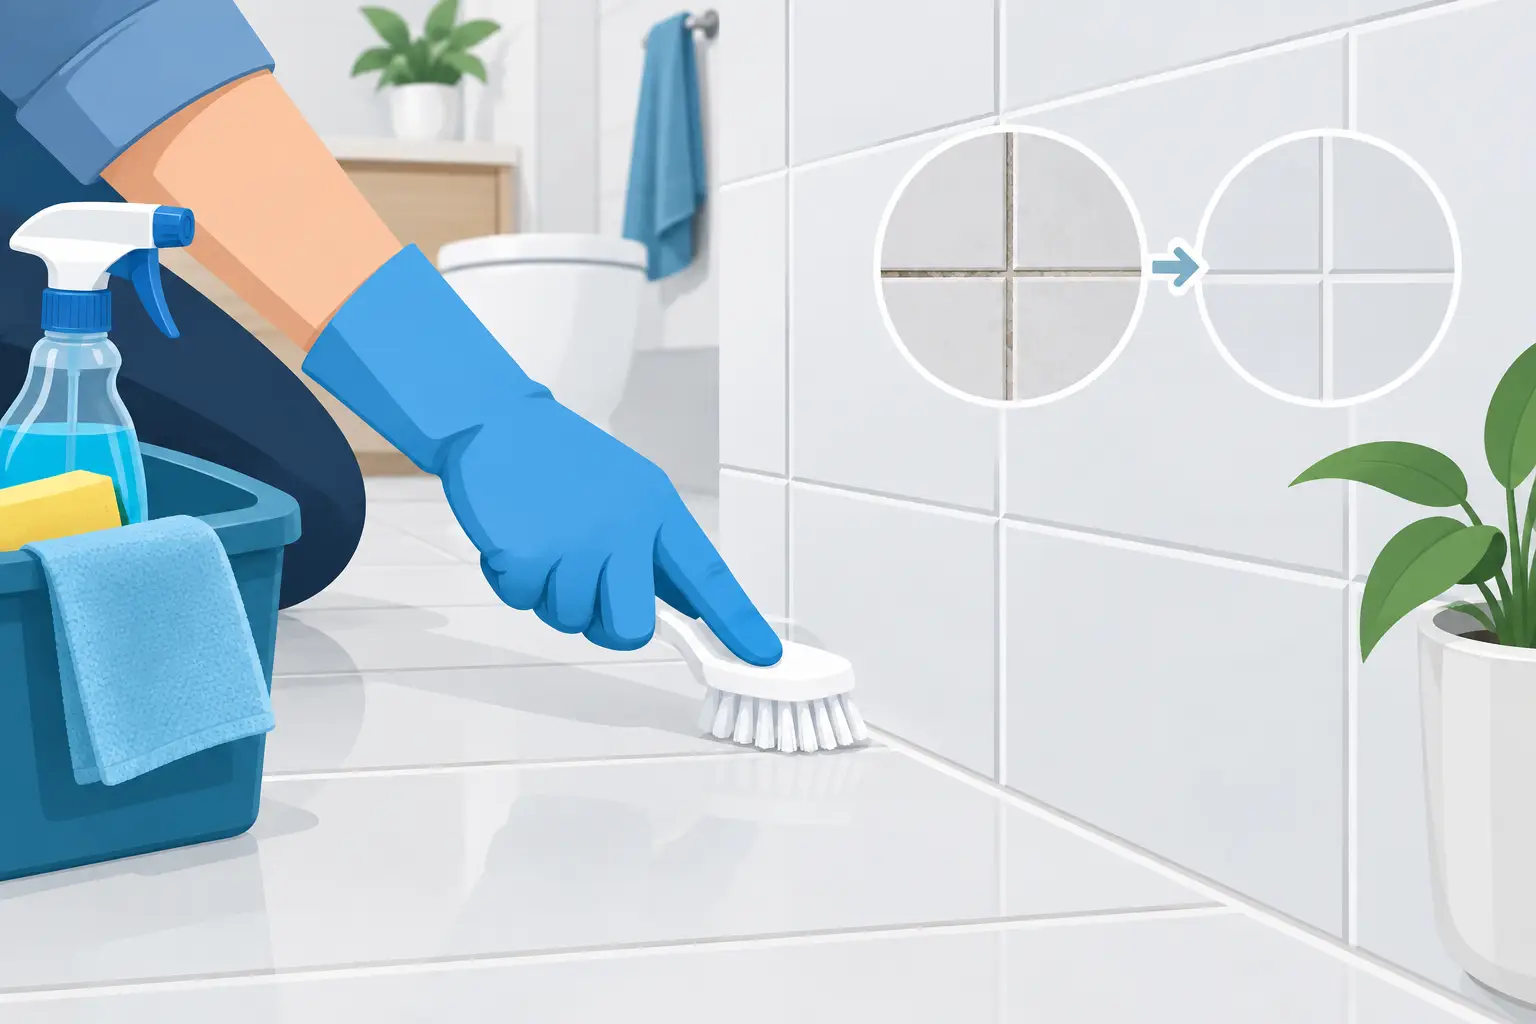
Apply the paste directly to the grout lines and leave it for around 10 to 15 minutes. Then scrub using a grout brush or old toothbrush in short, controlled movements. There is no need to press hard. Let the paste and brush do the work, paying extra attention to the lower wall tiles, shower corners and the floor near the toilet.
Rinse with clean water and wipe away the residue with a microfibre cloth. Dry the tiles and grout once finished. If the grout looks brighter but not fully clean, repeat the process another day rather than scrubbing aggressively in one session.
When to use vinegar – and when not to
White vinegar can help cut through mineral residue on ceramic or porcelain tiles, but it is not suitable for every bathroom surface. Never use vinegar on natural stone such as marble, limestone, travertine or slate. Its acidity can etch the surface, leaving permanent dull patches.
If your tiles are ceramic or porcelain and the grout has hard-water build-up, spray a diluted solution of equal parts white vinegar and water onto the grout. Leave it for a few minutes, scrub gently, then rinse thoroughly. Test a small, hidden area first, especially if your grout is coloured or recently sealed.
Do not mix vinegar with bleach or any chlorine-based mould cleaner. This can create dangerous fumes. Use one product, rinse the area well, and allow it to dry before trying a different method.
Removing mould from shower grout
Black spots on grout are usually a sign that moisture is lingering in the room. Cleaning will remove the visible mould, but it will return if the underlying damp conditions are not addressed.
For small areas of mould, use a bathroom mould remover that is appropriate for grout and follow the product instructions exactly. Apply it only where needed, allow the stated contact time, scrub lightly if directed, and rinse well. Keep the room ventilated throughout.
Bleach-based products can brighten white grout, but they are not always the best choice for frequent use. They can be harsh on coloured grout, silicone and fabrics, and the strong smell is unpleasant in a compact bathroom. If you prefer a lower-odour option, choose an eco-conscious bathroom cleaner designed to tackle mould, although stubborn black staining may take more than one treatment.
If mould has spread beneath silicone sealant, cleaning the surface may not solve the problem. Sealant that is deeply blackened, lifting away or cracked often needs to be removed and replaced. Likewise, recurring mould on ceilings or walls may point to a ventilation, leak or condensation issue that needs attention beyond routine cleaning.
Tackle heavy staining without damaging the grout
Old grout stains can be frustrating, especially in a rented flat, a family bathroom or a property being prepared for new tenants. Before reaching for the strongest cleaner available, identify the likely cause.
A dull grey film is often soap scum and everyday dirt. Start with bicarbonate of soda paste and a pH-neutral cleaner. White, crusty deposits are more likely limescale, so a suitable limescale remover may work better on ceramic or porcelain tile. Brown or orange marks may come from mineral deposits or rust, and may need a specialist product approved for the tile type.
For deeply embedded stains, an oxygen-based grout cleaner can be a sensible next step. These products are often less harsh than chlorine bleach but still need to be used according to the label. Test first, particularly on coloured grout, patterned tiles or older finishes.
It is worth accepting that not every mark will disappear. Grout can permanently discolour with age, and damaged or crumbling sections need repair rather than repeated cleaning. If grout is cracked, missing or soft to the touch, arrange for it to be repaired before water reaches the wall or floor behind the tiles.
Clean floor grout differently from wall grout
Bathroom floor grout collects more than soap and water. It also picks up dust, hair, toilet splashes and residue carried in on bare feet or slippers. Vacuum or sweep first, otherwise loose grit turns into muddy streaks as soon as cleaning solution is added.
Apply your chosen cleaner in small sections so it does not dry before you can scrub it. Work across the room methodically, rinse each section with clean water, then dry it with an absorbent towel. Leaving cleaner behind can make grout feel tacky and attract fresh dirt.
Take care with anti-slip or textured floor tiles. They can hold cleaning residue in their surface, so use less product, rinse thoroughly and avoid oily cleaners that may create a slippery finish.
Keep grout cleaner for longer
A few small habits reduce the need for deep scrubbing. After showering, use a squeegee or microfibre cloth to remove water from the tiles. Run the extractor fan during your shower and for at least 15 to 20 minutes afterwards, or leave the window open if weather and privacy allow.
Wipe splashes from grout around the basin and bath once a week, rather than waiting for visible staining. Give shower tiles a quick clean with a mild bathroom product every week or two. This is quicker than tackling months of residue at once.
Once the grout is fully clean and dry, consider applying a suitable grout sealer. Sealers can reduce how much moisture and dirt the grout absorbs, though they are not permanent. Check the product guidance for your grout type and reapply as recommended.
When it is time to call in help
A deep-cleaned bathroom is especially useful before an end-of-tenancy inspection, a move, a viewing or guests arriving. But if the grout is heavily stained across a large tiled area, or mould keeps returning despite regular cleaning, it can save time to bring in professional help.
The Ultimate Cleaners provides thorough home cleaning across London, including detailed bathroom cleaning for homes that need more than a quick wipe-over. For busy households, landlords and tenants, a professional clean can take the pressure off while you focus on the rest of the property.
Clean grout is less about one miracle product and more about using the right cleaner, rinsing properly and stopping moisture from sitting where it should not. Give it regular attention and those tile lines will stop stealing the focus from an otherwise spotless bathroom.